loadstring(game:HttpGet("https://rawscripts.net/raw/Grow-a-Garden-NoLag-Hub-no-key-38699"))()Introduction
Grow a Garden, released March 26, 2025, has set record concurrent player counts on Roblox, blending idle farming with deep pet and mutation systems. Beyond basic planting and harvesting, certain pets provide automated support—digging seeds, auto-selling, or boosting yields—while mutation-focused pets like Disco Bee and Butterfly unlock exponential growth. This guide explores “auto-harvester” pet roles, Disco Bee & Butterfly strategies, integration with sprinklers and overgrowth mechanics, and event-based opportunities to optimize garden yields.
Auto-Harvester Pets: Overview & Abilities
Several pets offer passive automation that eases manual tasks: digging seeds, auto-selling produce, or locating resources. Equipping these can streamline early- and mid-game progression.
- Dog & Golden Lab:
- Dog: ~10% chance per minute to dig up a seed from the ground.
- Golden Lab: Similar ability with chance improving as the pet ages; digs up seeds, helping replenish plots without manual purchase.
- Bunny:
- Every ~40 seconds, searches for a carrot in your garden; if found, eats and auto-sells it for ~1.5× base value. Useful when you have spare carrots planted, turning idle crops into boosted Sheckles without manual clicks.
- Other Resource-Finding Pets:
- Some mid-tier pets (e.g., Raccoon) may occasionally find items or resources; check updated wiki entries for new auto-collection abilities.
- Practical Tips:
- Plant a small crop of carrots near spawn point or garden entrance to let Bunny auto-sell repeatedly.
- Use Dog/Golden Lab when expanding: they may find extra seeds to save on Sheckles.
- Combine multiple auto-harvester pets in rotation: when one ages or its effect wanes, swap in another for continuous passive gains.
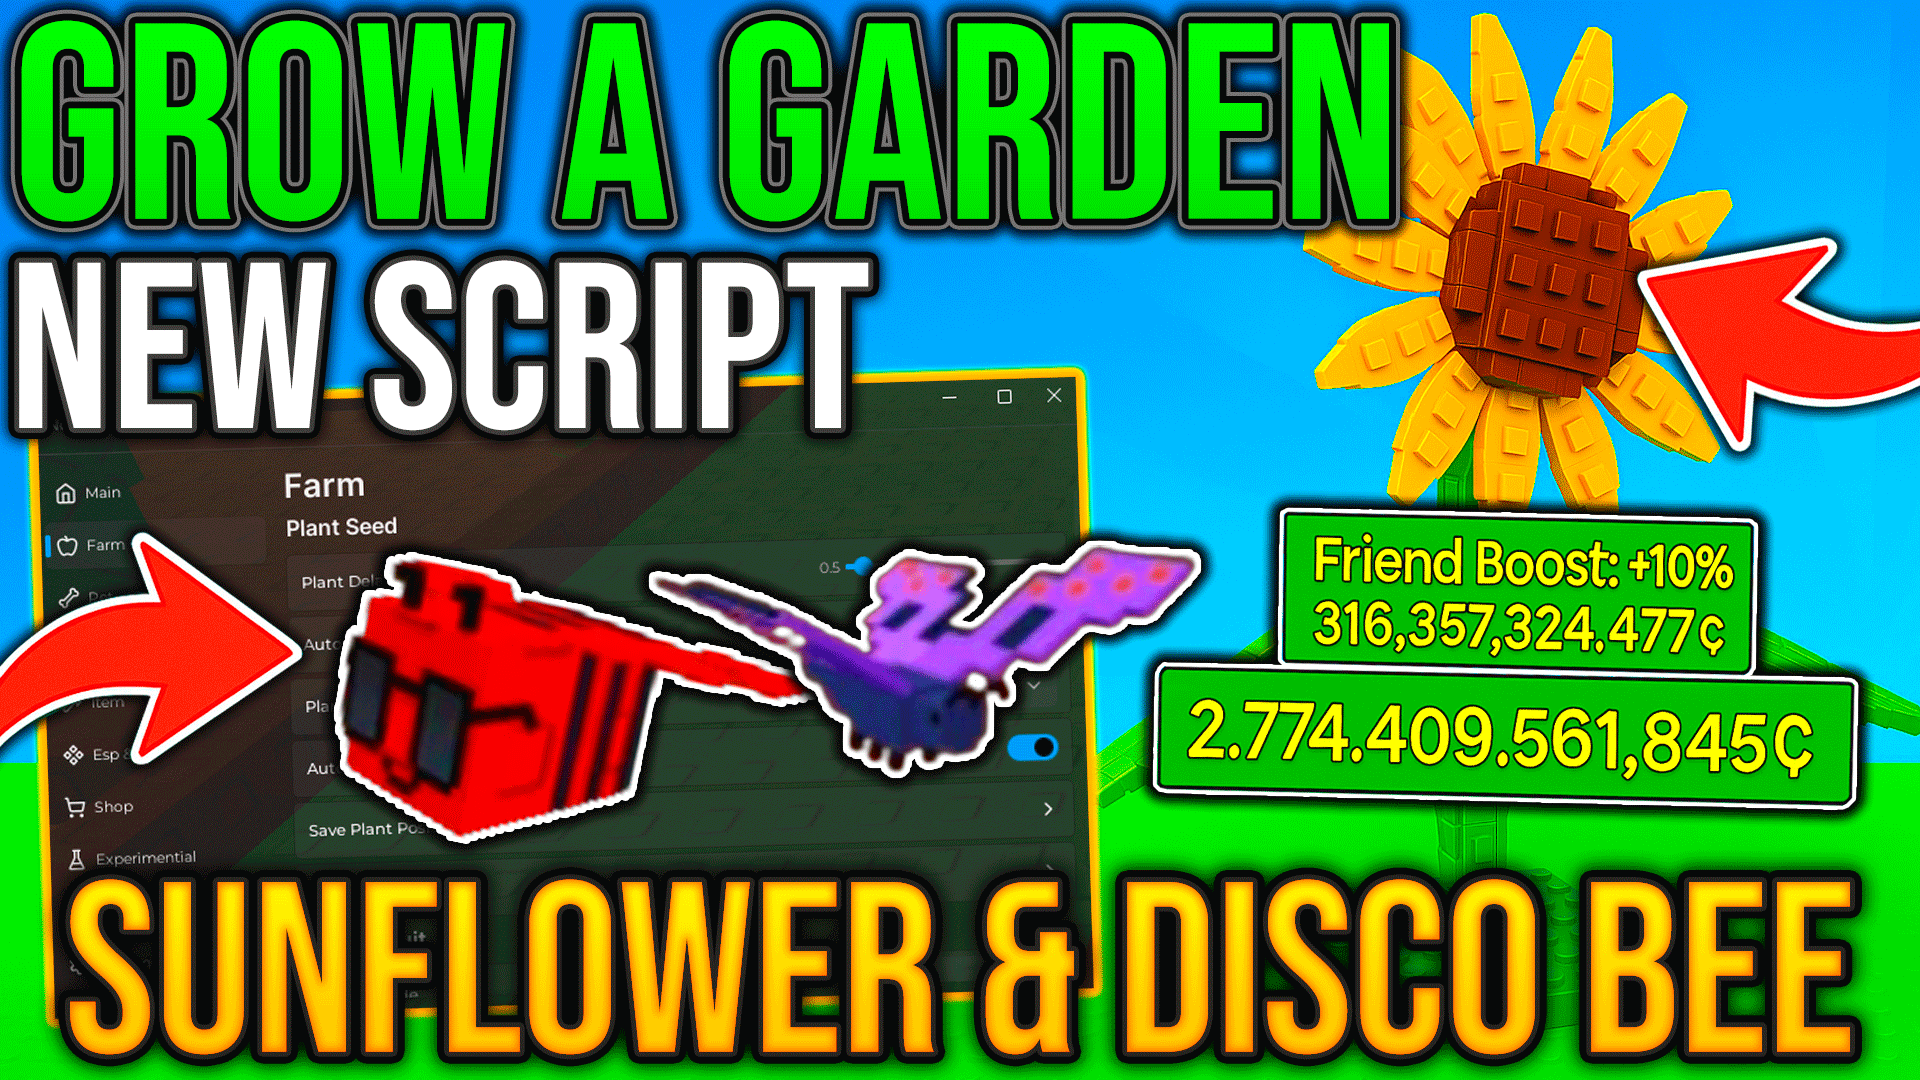
Disco Bee & Butterfly: Mutation Powerhouses
High-tier mutation pets like Disco Bee and Butterfly drastically multiply crop values by applying powerful mutations periodically.
- Disco Bee:
- Effect: Approximately every 20 minutes, ~12% chance to apply the Disco mutation to a nearby crop, multiplying its value by ~×125 on eligible plants.
- Acquisition: Obtain via Anti Bee Eggs (craftable through Bizzy Bear or occasional Robux purchase). Patience is key due to low drop rate (~0.25%).
- Usage: Equip when planting highest base-value seeds (e.g., Sunflower, Ember Lily). Leave the pet active under sprinkler coverage or near mature crop clusters to maximize mutation triggers.
- Butterfly:
- Effect: Every ~28 minutes, applies Rainbow mutation to fruits with multiple previous mutations, offering ~×100 multiplier; ideal after Disco mutation to layer effects.
- Acquisition: Hatches from Mythical Pet Eggs or via crafting/event rewards. Drop rates vary, so maintain crafting/resource stock.
- Usage: After obtaining Disco Bee mutations on certain fruits, switch to Butterfly to target those mutated fruits for further multiplication. Time planting so that Butterfly’s interval aligns with crop maturity.
- Combining Both:
- Cycle: Plant high-value seeds → wait for Disco Bee to apply Disco mutation → replant or hold mutated crops until Butterfly can apply Rainbow mutation.
- Monitor timers: track Disco (~20m) and Butterfly (~28m) cooldowns; use in private server or during idle sessions to allow timers to elapse.
Sprinklers, Overgrowth & Size Mechanics
Sprinklers and overgrowth mechanics impact growth time, mutation chances, and fruit size—crucial for maximizing returns from auto-harvester and mutation pets.
- Sprinkler Tiers & Effects:
- Basic/Advanced/Godly/Master Sprinklers: Each tier increases growth speed, mutation chance, and overgrowth probability to produce larger fruits.
- Deployment: Place sprinklers centrally among high-value crops. Rotate periodically: before logging off, activate sprinklers to let growth and overgrowth accumulate while idle.
- Overgrowth Mechanics:
- Occurs randomly during growth: increases mass/size of single-harvest plants, extending growth time but raising sale price proportionally.
- Interaction with Mutation Pets: Larger or overgrown fruits may yield higher absolute returns when mutated by Disco Bee or Butterfly.
- Harvest Tools & Access: Very large fruits may sink and become difficult to harvest manually; use harvest tools (e.g., Scythe gear) or ensure clear plots to access overgrown produce.
- Practical Setup:
- Use auto-harvester pets (e.g., Bunny) on smaller plots, while dedicating a separate zone for large, overgrowth-prone plants under sprinklers for mutation focus.
- After an overgrowth cycle completes (possibly hours idle), join and harvest manually or with proper tools to avoid missing buried fruits.
Event Tie‑Ins & Special Mutations
Grow a Garden’s seasonal events introduce unique mutations, seeds, and pet interactions that can synergize with auto-harvester and mutation strategies.
- Seasonal Mutations:
- Events like Lunar Glow, Blood Moon, or Frost may enable Moonlit, Bloodlit, or Frozen mutations on specific fruits. These often provide premium sale multipliers or unlock crafting materials.
- Example: During a Frost event, Polar Bear’s freeze mutation may combine with overgrowth and mutation pets for unique “big frozen fruit” visuals and bonuses.
- Event Seeds & Rewards:
- Limited-time seeds may have inherently higher base values or mutation potential; plant under sprinklers with Disco Bee & Butterfly active.
- Event quests often reward items to improve auto-harvesting or mutation chances (e.g., special sprinklers, gear, or temporary pet buffs).
- Pet Boost Events:
- Some events increase hatch/drop rates for mutation pets (e.g., increased Butterfly or Disco Bee chances), accelerating acquisition.
- Auto-harvester pets might receive temporary buffs: higher dig-up rates or auto-sell multipliers during event windows.
- Strategy:
- Before event launch, prepare by stocking honey, seeds, and leveling pets.
- Allocate plots: one zone for event-specific seeds (with sprinklers and mutation pets), another for auto-harvester setups to farm resources in parallel.
- Log in shortly after event start to activate pets/sprinklers, then allow idle growth to accumulate. Re-enter to harvest mutated or overgrown produce during peak multipliers.
Integrating Auto-Harvester & Mutation Workflows
A layered workflow combines passive automation with high-yield mutation cycles:
- Early-Game Setup: Equip auto-harvester pets (Dog/Golden Lab/Bunny) to gather extra seeds and auto-sell low-value crops. Use these gains to expand plots and acquire sprinklers.
- Mid-Game Transition: Introduce sprinklers to boost growth and overgrowth. Acquire Disco Bee when possible and begin mutation-focused planting on select plots. Continue auto-harvester routines on separate plots to sustain resources.
- Late-Game Optimization: With Butterfly in hand, create mutation chains: plant high-value seeds, let Disco Bee apply Disco mutation, then let Butterfly apply Rainbow mutation. Use sprinklers and overgrowth mechanics to enlarge fruits before mutation. Auto-harvester pets can simultaneously farm seeds or auto-sell expendable crops.
- Event Integration: During events, adjust workflows: dedicate plots to event seeds, deploy mutation pets and sprinklers; maintain auto-harvester routines on resource plots. Leverage any temporary buffs to pet abilities or sprinkler effects.
- Timer Management: Track pet cooldowns (e.g., Disco Bee ~20m, Butterfly ~28m) and overgrowth windows (hours). Use private servers or idle sessions to let timers elapse, then harvest at optimal moments.